Setting up your Mac
21 Jul 2021Starting Point
You finally got your shiny new MacBook and you are excited to start being productive. For this you would need to get all your settings and plugins for various tools.
In this post I will be sharing my setup with a brand new mac. Hopefully you will be able to find some new stuff that you might find helpful while setting a new system for yourself.
Homebrew
First thing first, without a doubt, Homebrew is the missing package manager for macOS. This is the first thing I install for all my setup related with Mac. Homebrew helps in simplifying all your installation and updates. Once you have Brew install, let’s start by installing:
# Basics
brew install git
brew install iterm2
brew install vistual-studio-code
brew install 1password
brew install tree
brew install node
brew install jq
brew install expect
brw install nvm
brew install python

# Productivity
brew install todoist
brew install joplin
brew install lazygit

# DevOps Related
brew install docker-compose
brew install aws-cli

# Database
brew install postgresql
These are my helpful have to your local development and for your productivity boost.
ZSH
Next, you start by installating and configuring your ZSH and Oh My ZSH framework with your most beloved plugins. Here are some of my favorite ZSH plugins.
brew install zsh

brew install autojump
brew install zsh-autosuggestions
brew install zsh-history-substring-search
brew install zsh-syntax-highlighting
Once you have downloaed the plugins, you can update your ~/.zshrc with the plugin list.
plugins=(
        git
        zsh-syntax-highlighting
        zsh-autosuggestions
        zsh-history-substring-search
        autojump
        )
KeyMaps
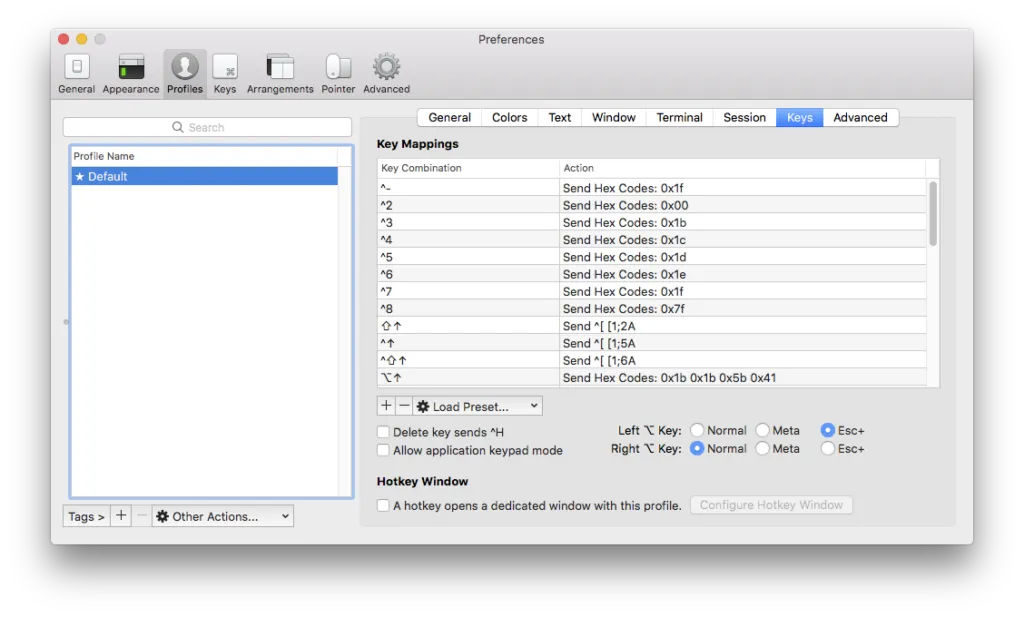
There are few configurations you need to change based on your preferences. I set my keymapping for iterm, so that I could move back or front word. To make this work for the right option key, you need to set the key modifier to act as an escape sequence.
First, you need to set your left ⌥ key to act as an escape character.
After that, you can either change the current shortcut for ⌥ ← or create a new one, in the profile shortcut keys, with the following settings:
Keyboard Shortcut: ⌥←
Action: Send Escape Sequence
Esc+: b
Now we need to repeat a similar process for the ⌥→ keyboard shortcut with the following settings:
Keyboard Shortcut: ⌥→
Action: Send Escape Sequence
Esc+: f